


You can create more visually appealing documents by adding a background image to the document pages. It can be a roll of old parchment, a decorative page frame, or a logo watermark:

On the Web, you can find many different background images, both free and paid. You can also design your own image.
Here is how to add a background image to a document in Atlantis:
 of the View toolbar
 .
.
 of the Insert toolbar
 to insert your graphic file.
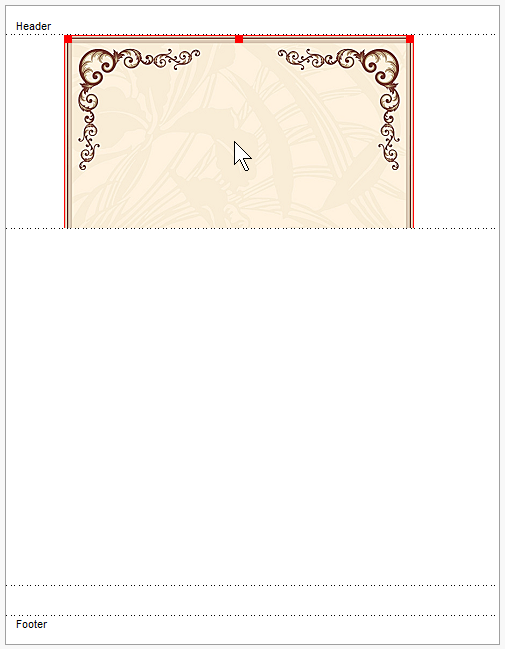
 button of the "Picture" context toolbar, and choose "Behind text" as a text wrapping style:


 button of the "Header & Footer" context toolbar to switch to the document main text.

Note that when the document main text is active, the headers and footers are dimmed. This is an onscreen display only, and the headers/footers will print in full color. For the WYSIWYG preview, use the "Print Preview" command of the "File" menu, or click the corresponding button  of the File toolbar
 .
.
You can download the sample document file used in this article by clicking here.
See also...


